Ready in: 15 minutes · Serves: 12 · Technique: Pressure Cooking · Storage: Up to 1 week in the refrigerator.
Quick Answer
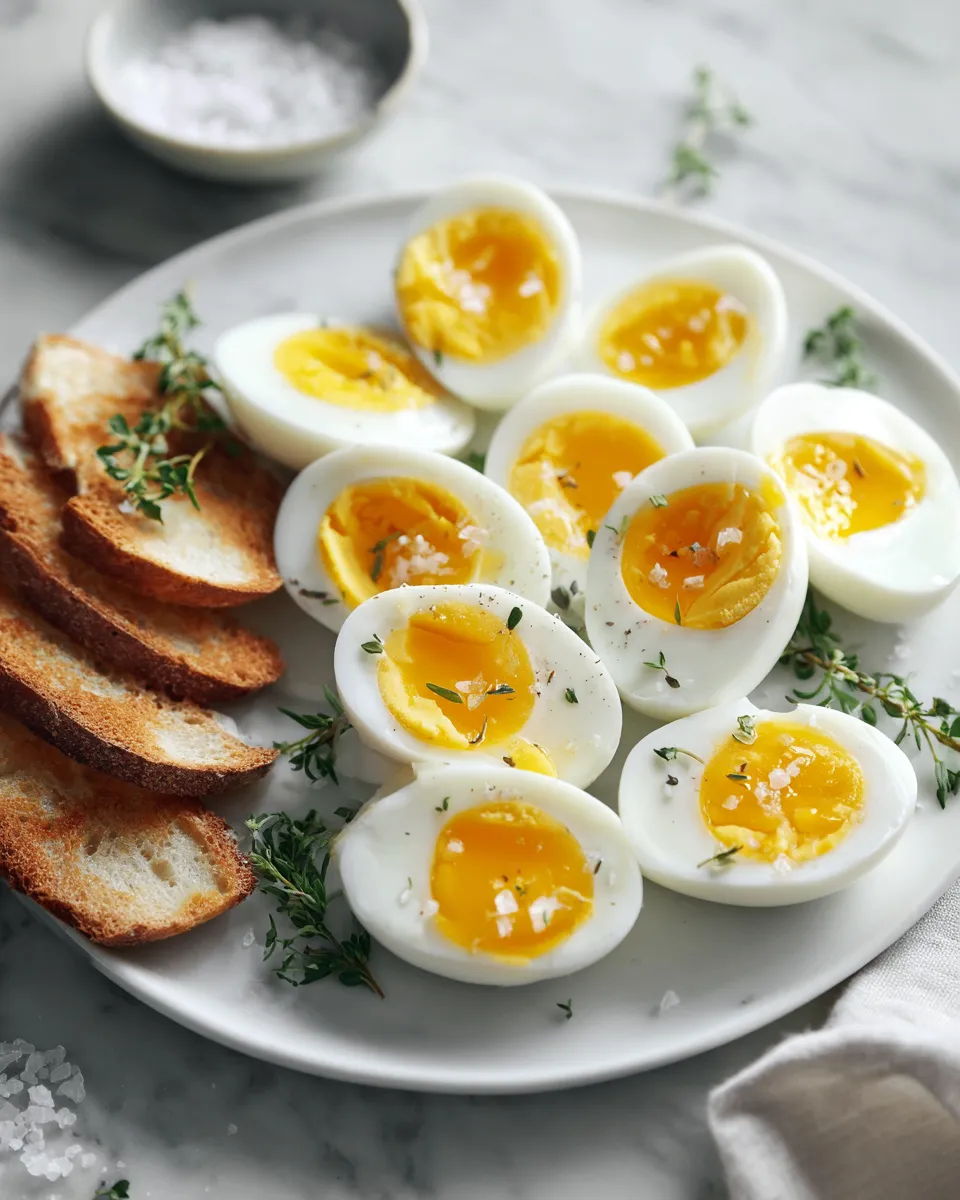
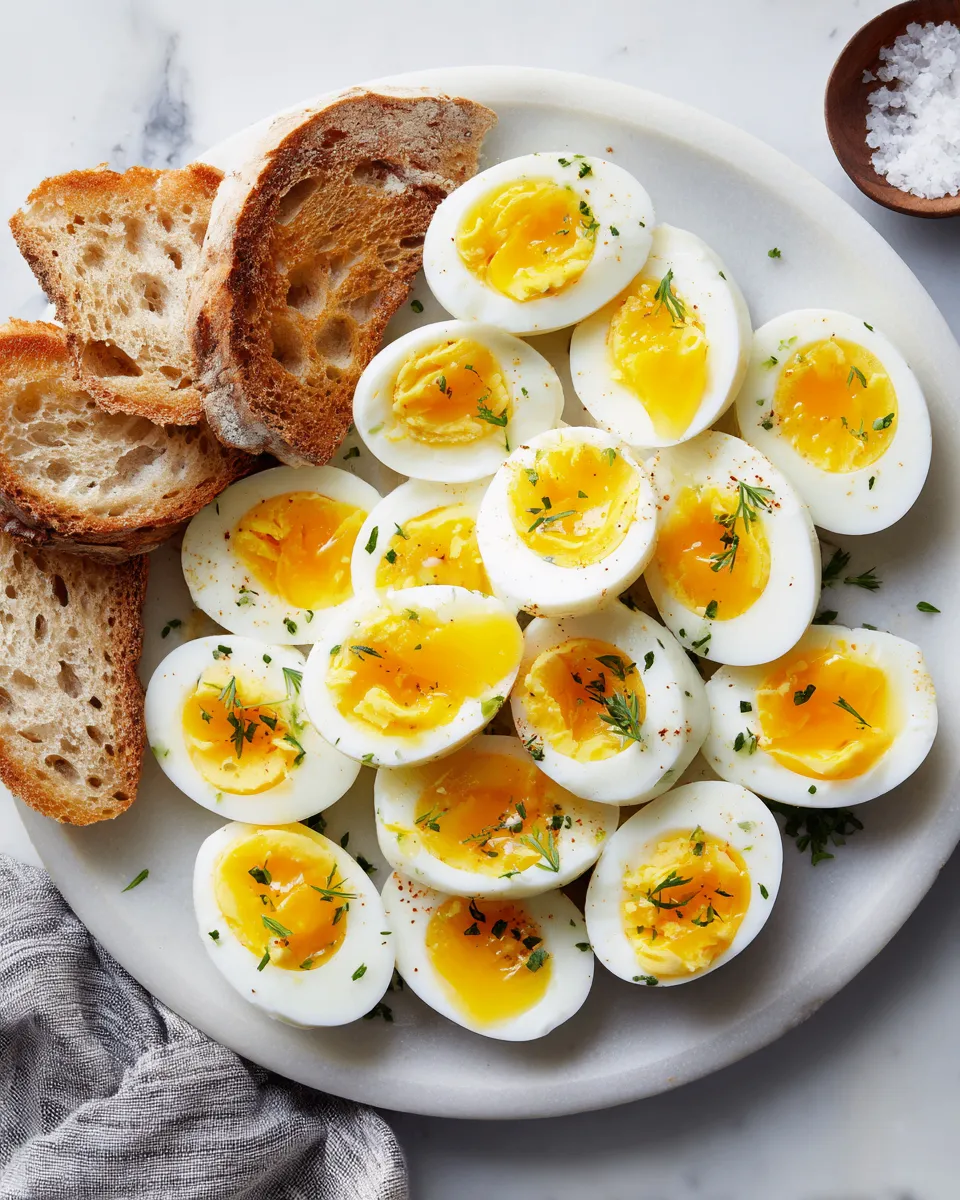
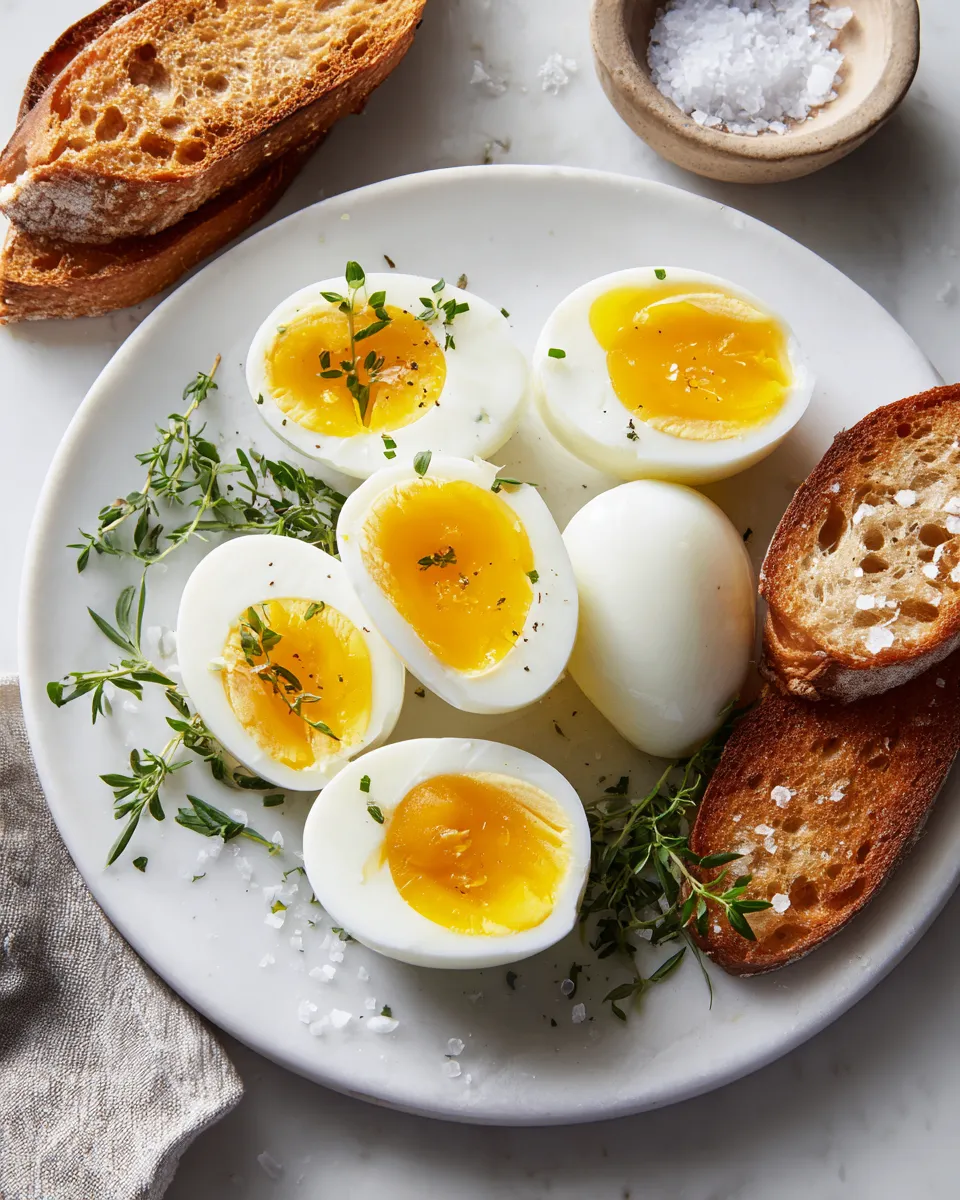
To make perfect hard-boiled eggs in an Instant Pot, simply steam them for 5 minutes and then cool in an ice bath for easy peeling.
As the holiday season approaches here in New York City, I find myself preparing for gatherings filled with laughter, warmth, and good food. One recipe that has become a staple in my kitchen is the humble hard-boiled egg. They're perfect for snacks, slicing atop salads, or even making creamy deviled eggs for festive gatherings. And with the help of my Instant Pot, the process has never been easier!
A Perfect Make-Ahead Dish
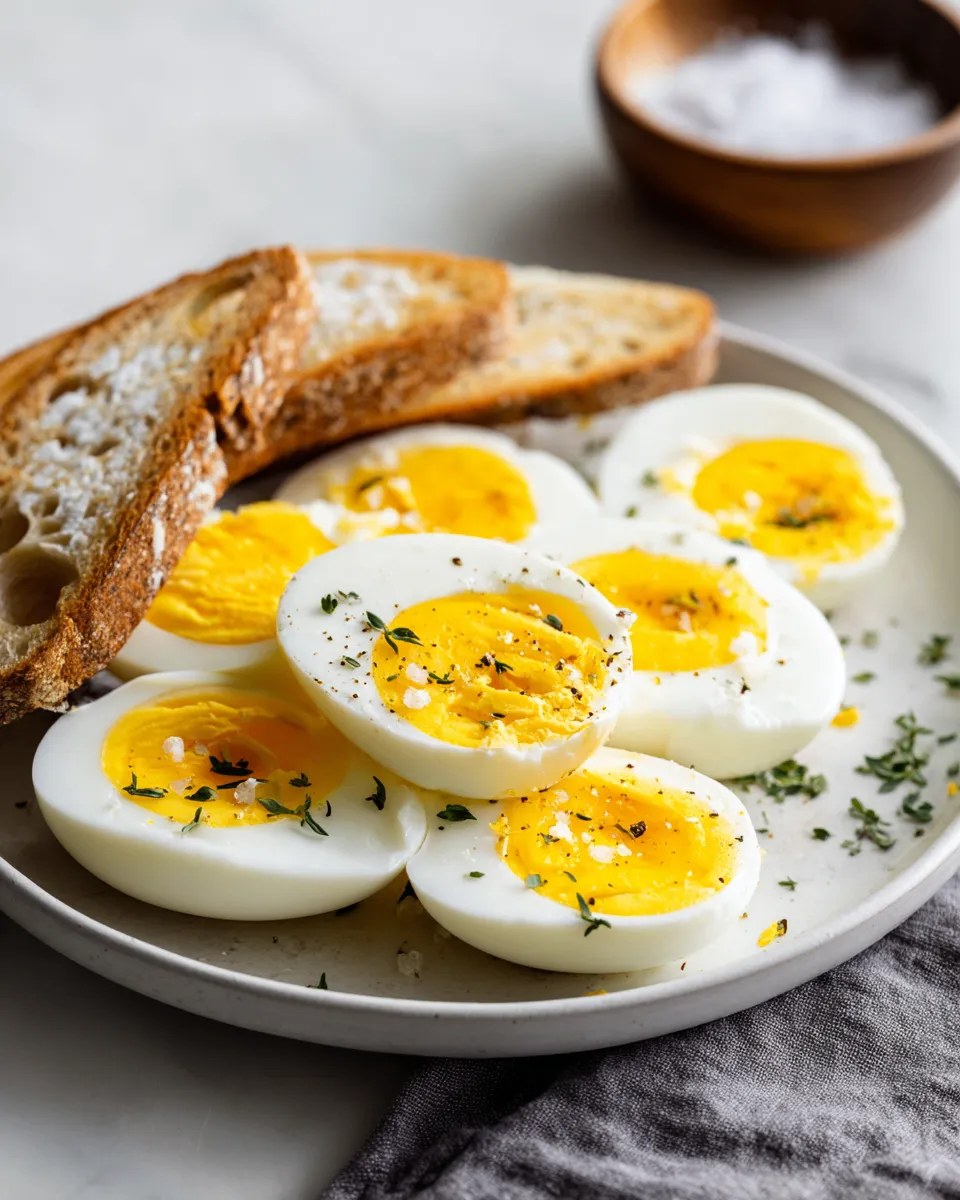
Using an Instant Pot takes the guesswork out of cooking hard-boiled eggs. The pressure cooking technique ensures perfectly cooked eggs every single time, with almost zero effort. I've experimented with various methods, but this one has won my heart (and my stomach!). The Instant Pot locks in moisture and steam, resulting in tender whites and creamy yolks without that dreaded green ring.
Why You'll Love This Recipe
- Effortlessly achieve perfectly cooked hard-boiled eggs every time with the Instant Pot.
- No more rubbery whites-enjoy tender whites and creamy yolks without a green ring.
- Quick cooking and cooling times allow for easy preparation, perfect for gatherings.
- Versatile for various dishes-great for snacks, salads, or deviled eggs.
- Simple ingredients and minimal cleanup make it a favorite in busy kitchens.
Ingredients
To make these delicious hard-boiled eggs, you'll need the following:
Main Ingredients
- Eggs (as many as you'd like to cook-up to a dozen recommended)
- 1 cup water
- Ice bath (water and ice for cooling)
How to Make Instant Pot Hard Boiled Eggs (Step-by-Step)
Follow these easy steps to cook perfect hard-boiled eggs with your Instant Pot:
Step 1: Prepare the Instant Pot
Pour 1 cup of water into the inner pot of your Instant Pot. This is crucial; the steam created from this water is what cooks the eggs to perfection.
Step 2: Arrange the Eggs
Using a steam basket or the provided trivet, place the eggs on top carefully. You want to ensure they're not crowded, so they cook evenly.
Step 3: Set the Pressure
Secure the lid and set the valve to sealing. Select the manual setting and set the timer for 5 minutes. As the Instant Pot heats up, enjoy the reassuring sound of good things cooking.
Step 4: Natural Release
Once the timer goes off, allow the pot to naturally release pressure for 5 minutes. This step is important as it helps prevent the whites from being rubbery.
Step 5: Ice Bath
After five minutes, carefully switch the valve to release the remaining pressure. Transfer the eggs immediately to an ice bath to stop the cooking process and make peeling easier.
Step 6: Peel and Enjoy
After about 5-10 minutes in the ice bath, gently tap the eggs on the counter and roll them lightly to crack the shell. Peel under running water for the easiest removal.
Common Mistakes to Avoid
- Crowding the Eggs: Ensure there is enough space between the eggs in the basket; overcrowding can lead to uneven cooking.
- Skipping the Ice Bath: Not using an ice bath can make peeling a nightmare.
- Ignoring Freshness: Older eggs tend to peel much easier than fresh ones. If possible, let your eggs sit in the fridge for a week before cooking for best results.
Tips and Tricks for Success
- Experiment with cooking time: Stick to the 5-minute guideline, but adjust for larger eggs or a softer yolk if desired.
- Storage: Once cooked and peeled, store eggs in the refrigerator for up to one week in a sealed container.
- Flavoring: Add spices or herbs to your ice bath to infuse the eggs with additional flavors while they cool.
Variations
- Use different sizes of eggs for varied textures.
- Add salt or vinegar to the water for veteran chefs looking to enhance flavor.
- For a spicy twist, consider picking jalapeño-flavored eggs during cooling.
How to Serve
- Slice atop salads for added protein.
- Make classic or spicy deviled eggs for gatherings.
- Serve them as a nutritious snack on their own or with dips.
Make Ahead and Storage
- Make Ahead: Hard-boiled eggs can be made a day or two in advance for gatherings.
- Storage: Keep cooked eggs in a covered container in the refrigerator for up to one week.
- Reheating: Generally, hard-boiled eggs are best served cold, but if you prefer them warm, place them in warm water for a few minutes.
- Freezing: Hard-boiled eggs do not freeze well; it's best to consume them fresh.
Recipe Notes / What I Learned
Through my trials with hard-boiled eggs in the Instant Pot, I learned just how versatile they can be; they can be the base for endless recipes, especially during gathering seasons. Cooking them in this way has truly transformed my approach to meal prep in my busy NYC life.
Yield and Serving Size
Yield: 12 eggs · Serving Size: 1 egg
Nutrition Snapshot
Estimated Nutrition Per Serving: ~70 calories · 6g protein · 1g carbs · 5g fat

Recipe by:
Perfect Instant Pot Hard-Boiled Eggs
Ingredients
Equipment
Method
- Pour 1 cup of water into the inner pot of your Instant Pot.
- Using a steam basket or the provided trivet, place the eggs on top carefully.
- Secure the lid and set the valve to sealing. Select the manual setting and set the timer for 5 minutes.
- Once the timer goes off, allow the pot to naturally release pressure for 5 minutes.
- Transfer the eggs immediately to an ice bath to stop the cooking process and make peeling easier.
- After about 5–10 minutes in the ice bath, gently tap the eggs on the counter and roll them lightly to crack the shell. Peel under running water for the easiest removal.
Notes
FAQs
1. How long do I cook hard-boiled eggs in the Instant Pot?
For perfect hard-boiled eggs, set the timer for 5 minutes on the manual setting. After the cooking time, allow for a natural release of pressure for 5 minutes before transferring the eggs to an ice bath.
2. Can I cook more than a dozen eggs at once?
Yes, you can cook more than a dozen eggs in the Instant Pot as long as they fit comfortably in the steam basket or trivet without crowding. Just ensure you still use 1 cup of water for steaming.
3. Why should I use an ice bath after cooking?
An ice bath is crucial as it stops the cooking process immediately, preventing overcooking and ensuring the eggs are easier to peel. It also helps to maintain the eggs' texture and flavor.