Ready in: 10 minutes · Serves: 2-4 · Technique: Blending · Storage: Airtight container in the freezer.
Quick Answer
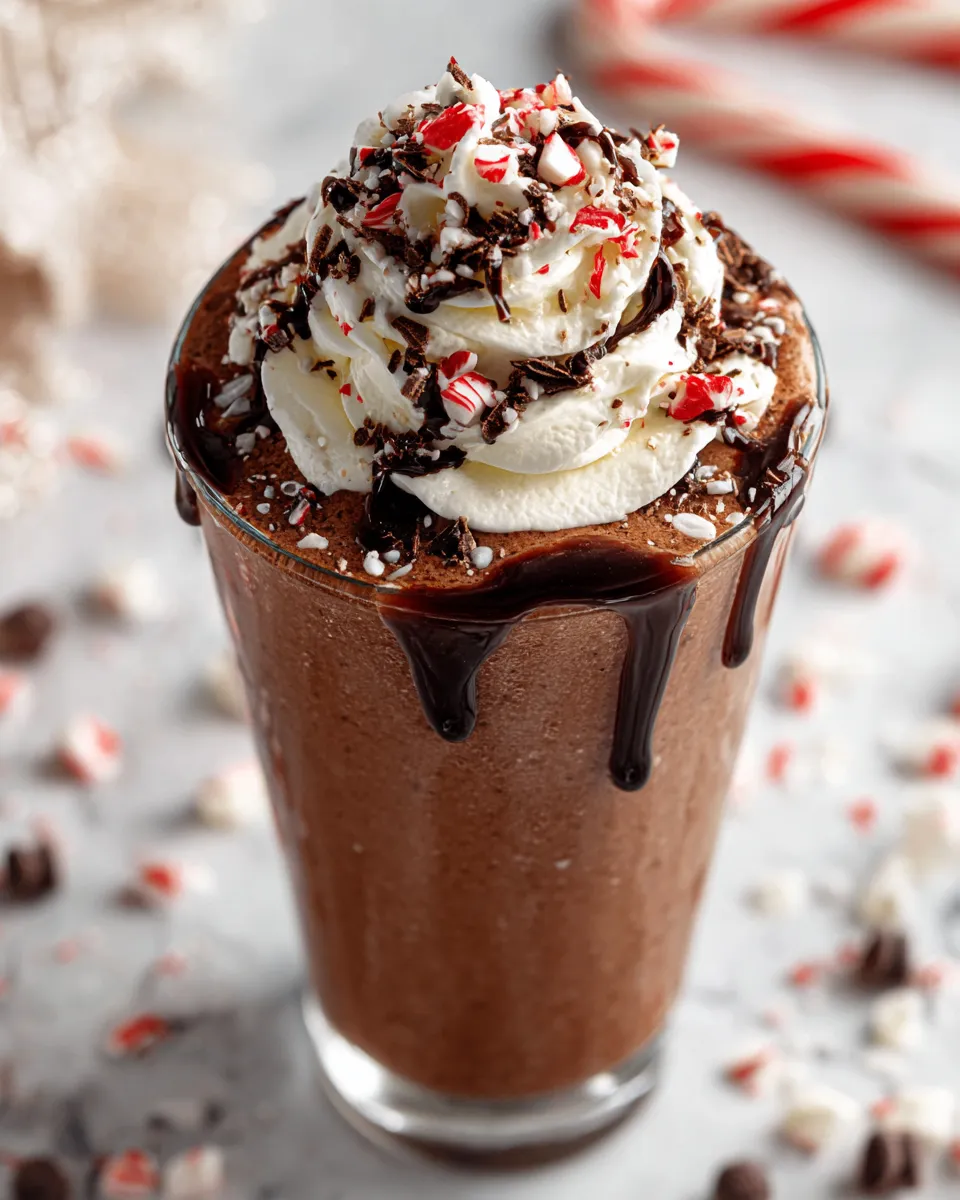
This homemade chocolate frosty is a simple blend of ice cream, milk, and chocolate syrup, topped with whipped cream for a delightful treat.
If you're like me and craving a deliciously creamy chocolate treat, then this homemade chocolate frosty recipe is a game changer! Living in New York City, I often find myself dreaming of those iconic chocolate frosties from the local fast-food joints. However, now that the holiday season is upon us, I'm all about creating that indulgent dessert experience right in my own kitchen using quality ingredients and a little bit of love.
A Cozy Holiday Treat
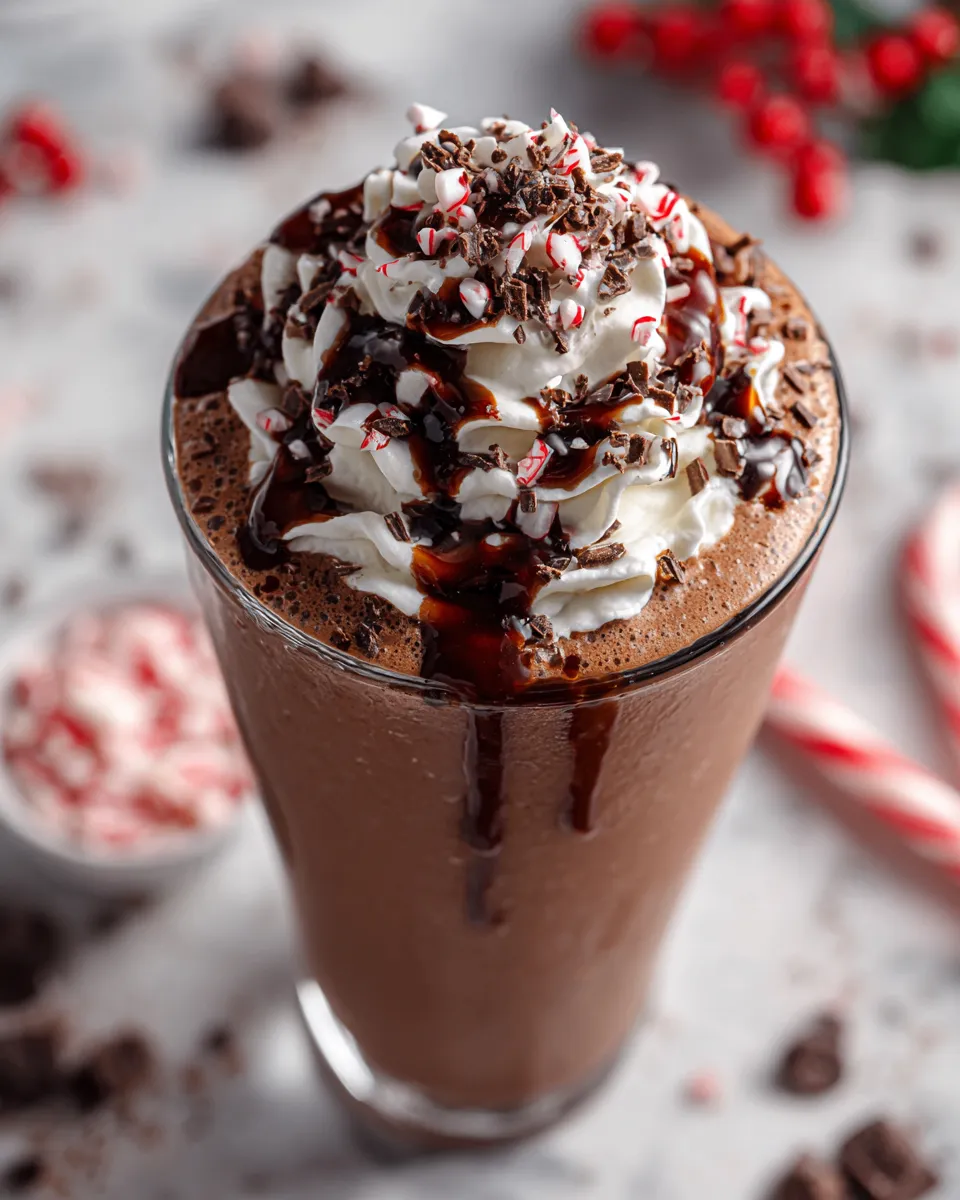
This chocolate frosty is not just a simple dessert; it's a perfect blend of nostalgia and festive cheer, making it an ideal addition to any holiday gathering.
Why You'll Love This Recipe
- Indulge in a rich, creamy chocolate treat made with quality ingredients.
- Easy to make at home, giving you a nostalgic fast-food experience without leaving your kitchen.
- Customizable to your taste-add more chocolate, adjust thickness, or even add a splash of liqueur.
- Perfect for holiday gatherings and special occasions with its deliciously festive presentation.
- Leftovers are easy to store and reconstitute, so you can enjoy this treat again later.
Ingredients
Gather these simple yet delicious ingredients to create your homemade chocolate frosty.
Base Ingredients
- 2 cups vanilla ice cream (Häagen-Dazs recommended)
- 1 cup milk (whole or 2%)
- ⅓ cup chocolate syrup (Hershey's for a nostalgic flavor)
- ½ teaspoon vanilla extract (pure vanilla is best)
Toppings
- Whipped cream (for topping)
How to Make Homemade Chocolate Frosty (Step-by-Step)
Follow these steps for a smooth, creamy chocolate frosty that will satisfy any craving.
Step 1: Blend the Base
In a high-speed blender, combine the vanilla ice cream, milk, chocolate syrup, and vanilla extract. Use a spatula to scrape down the sides as needed. Blend until the mixture is smooth and creamy, ensuring there are no chunks of ice cream remaining. You'll know it's ready when the texture resembles a thick milkshake.
Step 2: Adjust Consistency
If you prefer a thicker frosty, add an extra scoop of ice cream and blend again. Conversely, if you want a thinner texture, add a bit more milk. Personally, I like mine to have a slight jiggle when I pour it into glasses; it just feels perfectly decadent!
Step 3: Taste Test!
Before pouring, don't forget to taste the mixture. Add more chocolate syrup if you want an extra chocolaty kick. A little extra drizzle can elevate this treat into something truly special.
Step 4: Serve and Savor
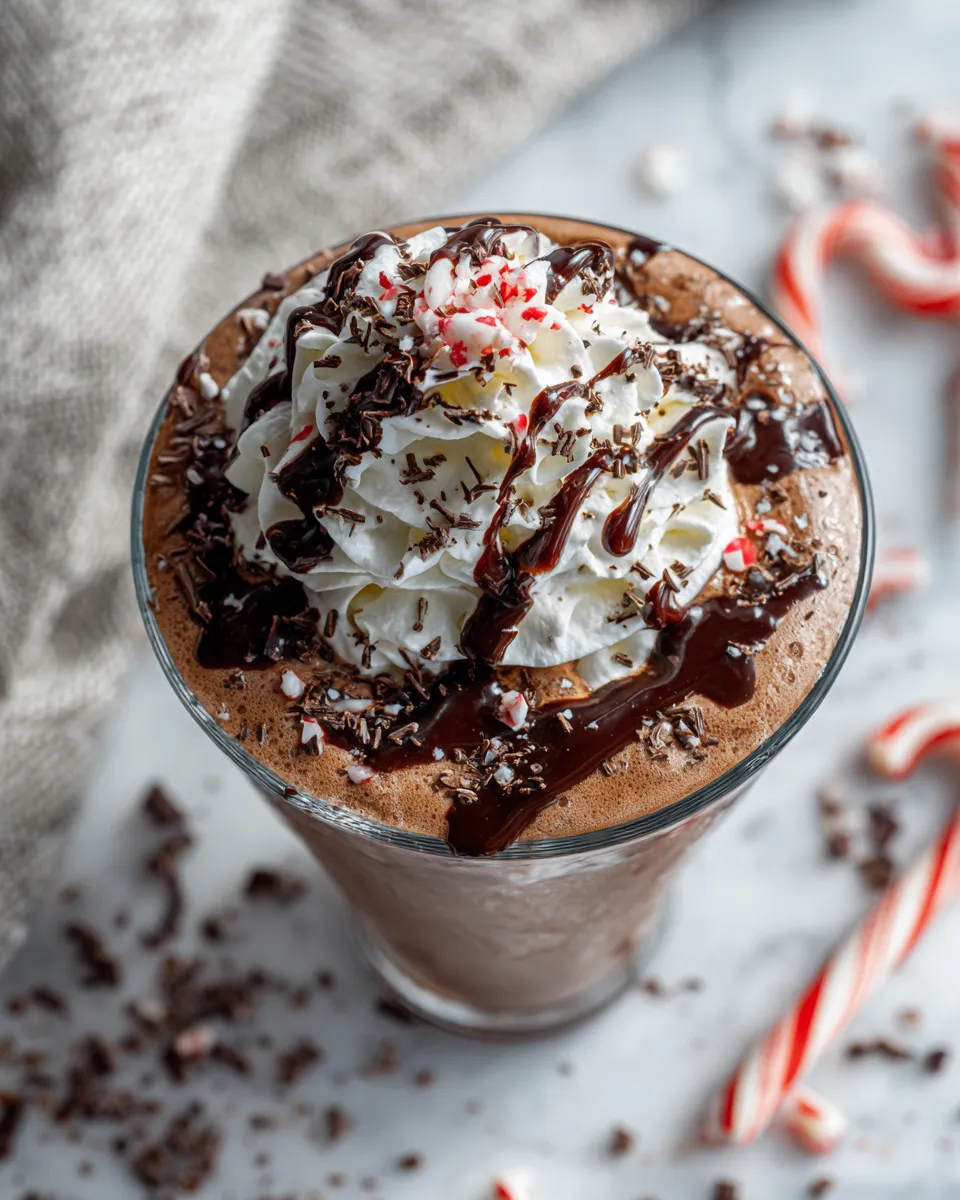
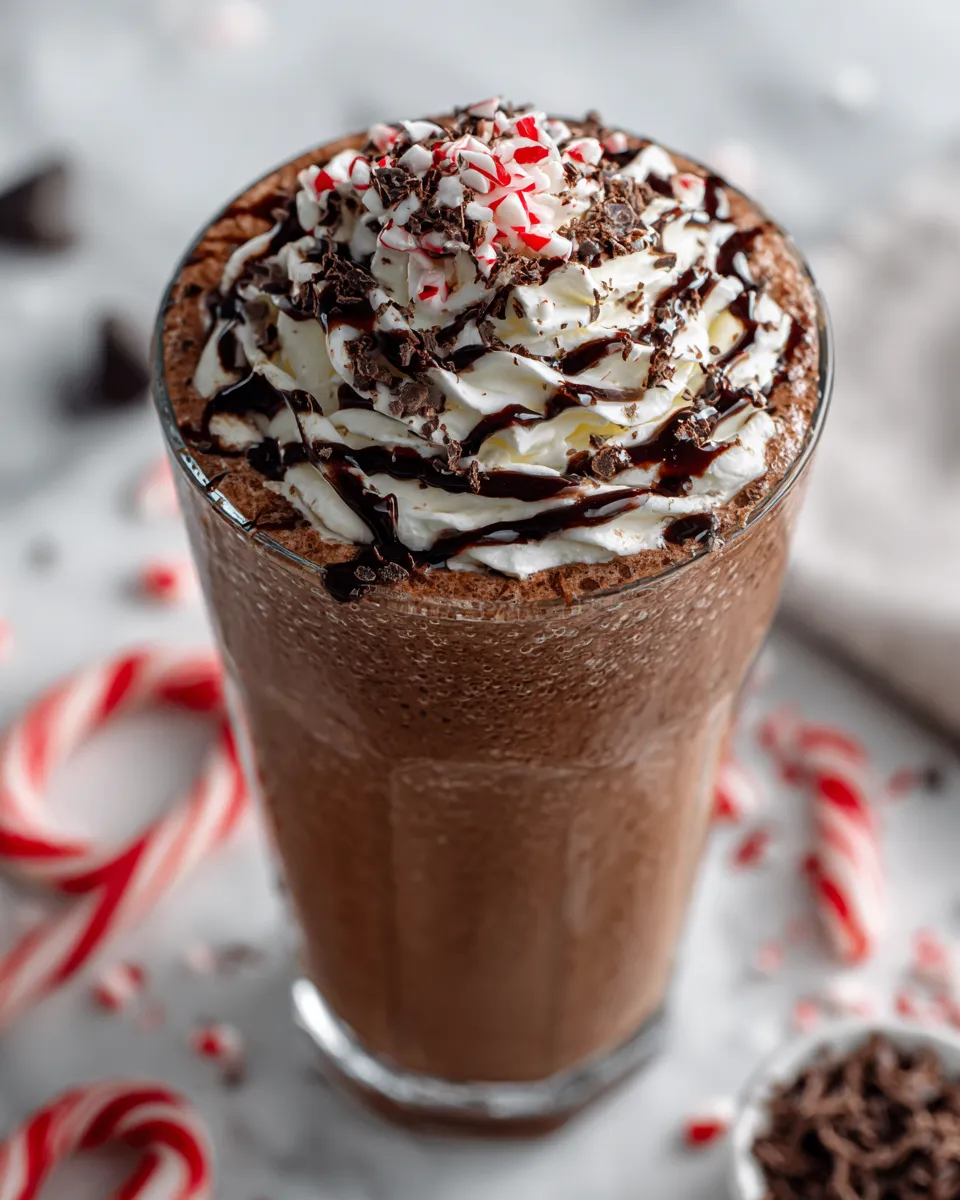
Pour the frosty into tall glasses and top with a generous swirl of whipped cream. Drizzle with more chocolate syrup for that Instagram-worthy touch. Grab a straw or a spoon, and enjoy the thick, creamy bliss!
Common Mistakes to Avoid
- Using low-quality ice cream: Always opt for a high-quality vanilla ice cream; it elevates the taste dramatically.
- Not blending long enough: Take the time to blend thoroughly; nobody wants a chunky frosty!
- Skipping taste tests: Adjust sweetness and chocolate levels to your preference. Don't skip this step!
Tips and Tricks for Success
- For an adult twist, consider adding a splash of coffee liqueur for a mocha frosty.
- If you want a healthier version, swap out regular ice cream for a frozen yogurt or dairy-free alternative.
- To make this festive for a holiday gathering, consider topping it with crushed peppermint candies or sprinkles.
Variations
- Use different ice cream flavors like mint chocolate chip or cookies and cream.
- Substitute chocolate syrup for caramel syrup for a different flavor profile.
- Add a scoop of peanut butter for a richer taste.
How to Serve
- Pour the frosty into tall glasses and top with whipped cream.
- Drizzle with additional chocolate or caramel syrup for decoration.
- Serve with a straw or a spoon for easy enjoyment.
Make Ahead and Storage
- Make Ahead: This recipe is perfect for making ahead of time; just prepare and store in the freezer until you're ready to serve.
- Storage: Store any leftovers in an airtight container in the freezer. Allow 10 to 15 minutes at room temperature to soften before serving.
- Reheating: Not applicable, as this is best served cold.
- Freezing: Can be frozen, but expect a change in texture once thawed.
Recipe Notes / What I Learned
While testing this recipe, I discovered how important quality ingredients are to achieving the perfect texture and flavor. The delight in each sip truly reflects the love put into crafting something homemade, making it a perfect treat for upcoming holiday festivities!
Yield and Serving Size
Yield: 4 cups · Serving Size: 1 cup
Nutrition Snapshot
Estimated Nutrition Per Serving: ~350 calories · 6g protein · 50g carbs · 15g fat

Recipe by:
Delicious Homemade Chocolate Frosty
Ingredients
Equipment
Method
- In a high-speed blender, combine the vanilla ice cream, milk, chocolate syrup, and vanilla extract. Use a spatula to scrape down the sides as needed. Blend until the mixture is smooth and creamy, ensuring there are no chunks of ice cream remaining.
- If you prefer a thicker frosty, add an extra scoop of ice cream and blend again. If you want a thinner texture, add a bit more milk.
- Before pouring, taste the mixture. Add more chocolate syrup if you want an extra chocolaty kick.
- Pour the frosty into tall glasses and top with whipped cream. Drizzle with more chocolate syrup for decoration. Enjoy!
Notes
FAQs
1. Can I use different flavors of ice cream for this recipe?
Absolutely! While vanilla is traditional, experimenting with chocolate or coffee ice cream can add interesting flavors to your frosty.
2. How can I make this recipe dairy-free?
To make a dairy-free version, substitute the vanilla ice cream and milk with coconut milk ice cream and a dairy-free milk alternative.
3. Can I prepare this frosty in advance?
While it's best served fresh, you can make it ahead of time and store it in an airtight container in the freezer. Just allow it to soften before serving.
4. What can I use instead of chocolate syrup?
If you want to switch things up, you can use chocolate sauce or melted chocolate for a richer flavor, or even nutella for a hazelnut twist!
5. How long does this homemade chocolate frosty last in the freezer?
It's best enjoyed right after making it, but if stored properly, it can last in the freezer for about 1-2 weeks. Just remember that the texture may change.